If you’re into cybersecurity, you’ve probably heard about Kali Linux—the go-to for hacking and security enthusiasts. Today, we’re diving into a savvy move: putting Kali Linux on VirtualBox.
Why bother? It’s like creating a secure space in your regular Windows or Linux setup. No need to replace anything—think of it as adding a powerful tool, just a click away.
What’s great about VirtualBox is that it keeps your main system safe. Anything you do in Kali Linux won’t mess with your regular stuff. Simple and secure.
Buckle up as we guide you through the easy steps of setting up Kali Linux on VirtualBox. No tech jargon—just a straightforward guide to boost your cybersecurity game.
Ready? Let’s roll!
Step 1: Get Kali Linux Ready
Table of Contents
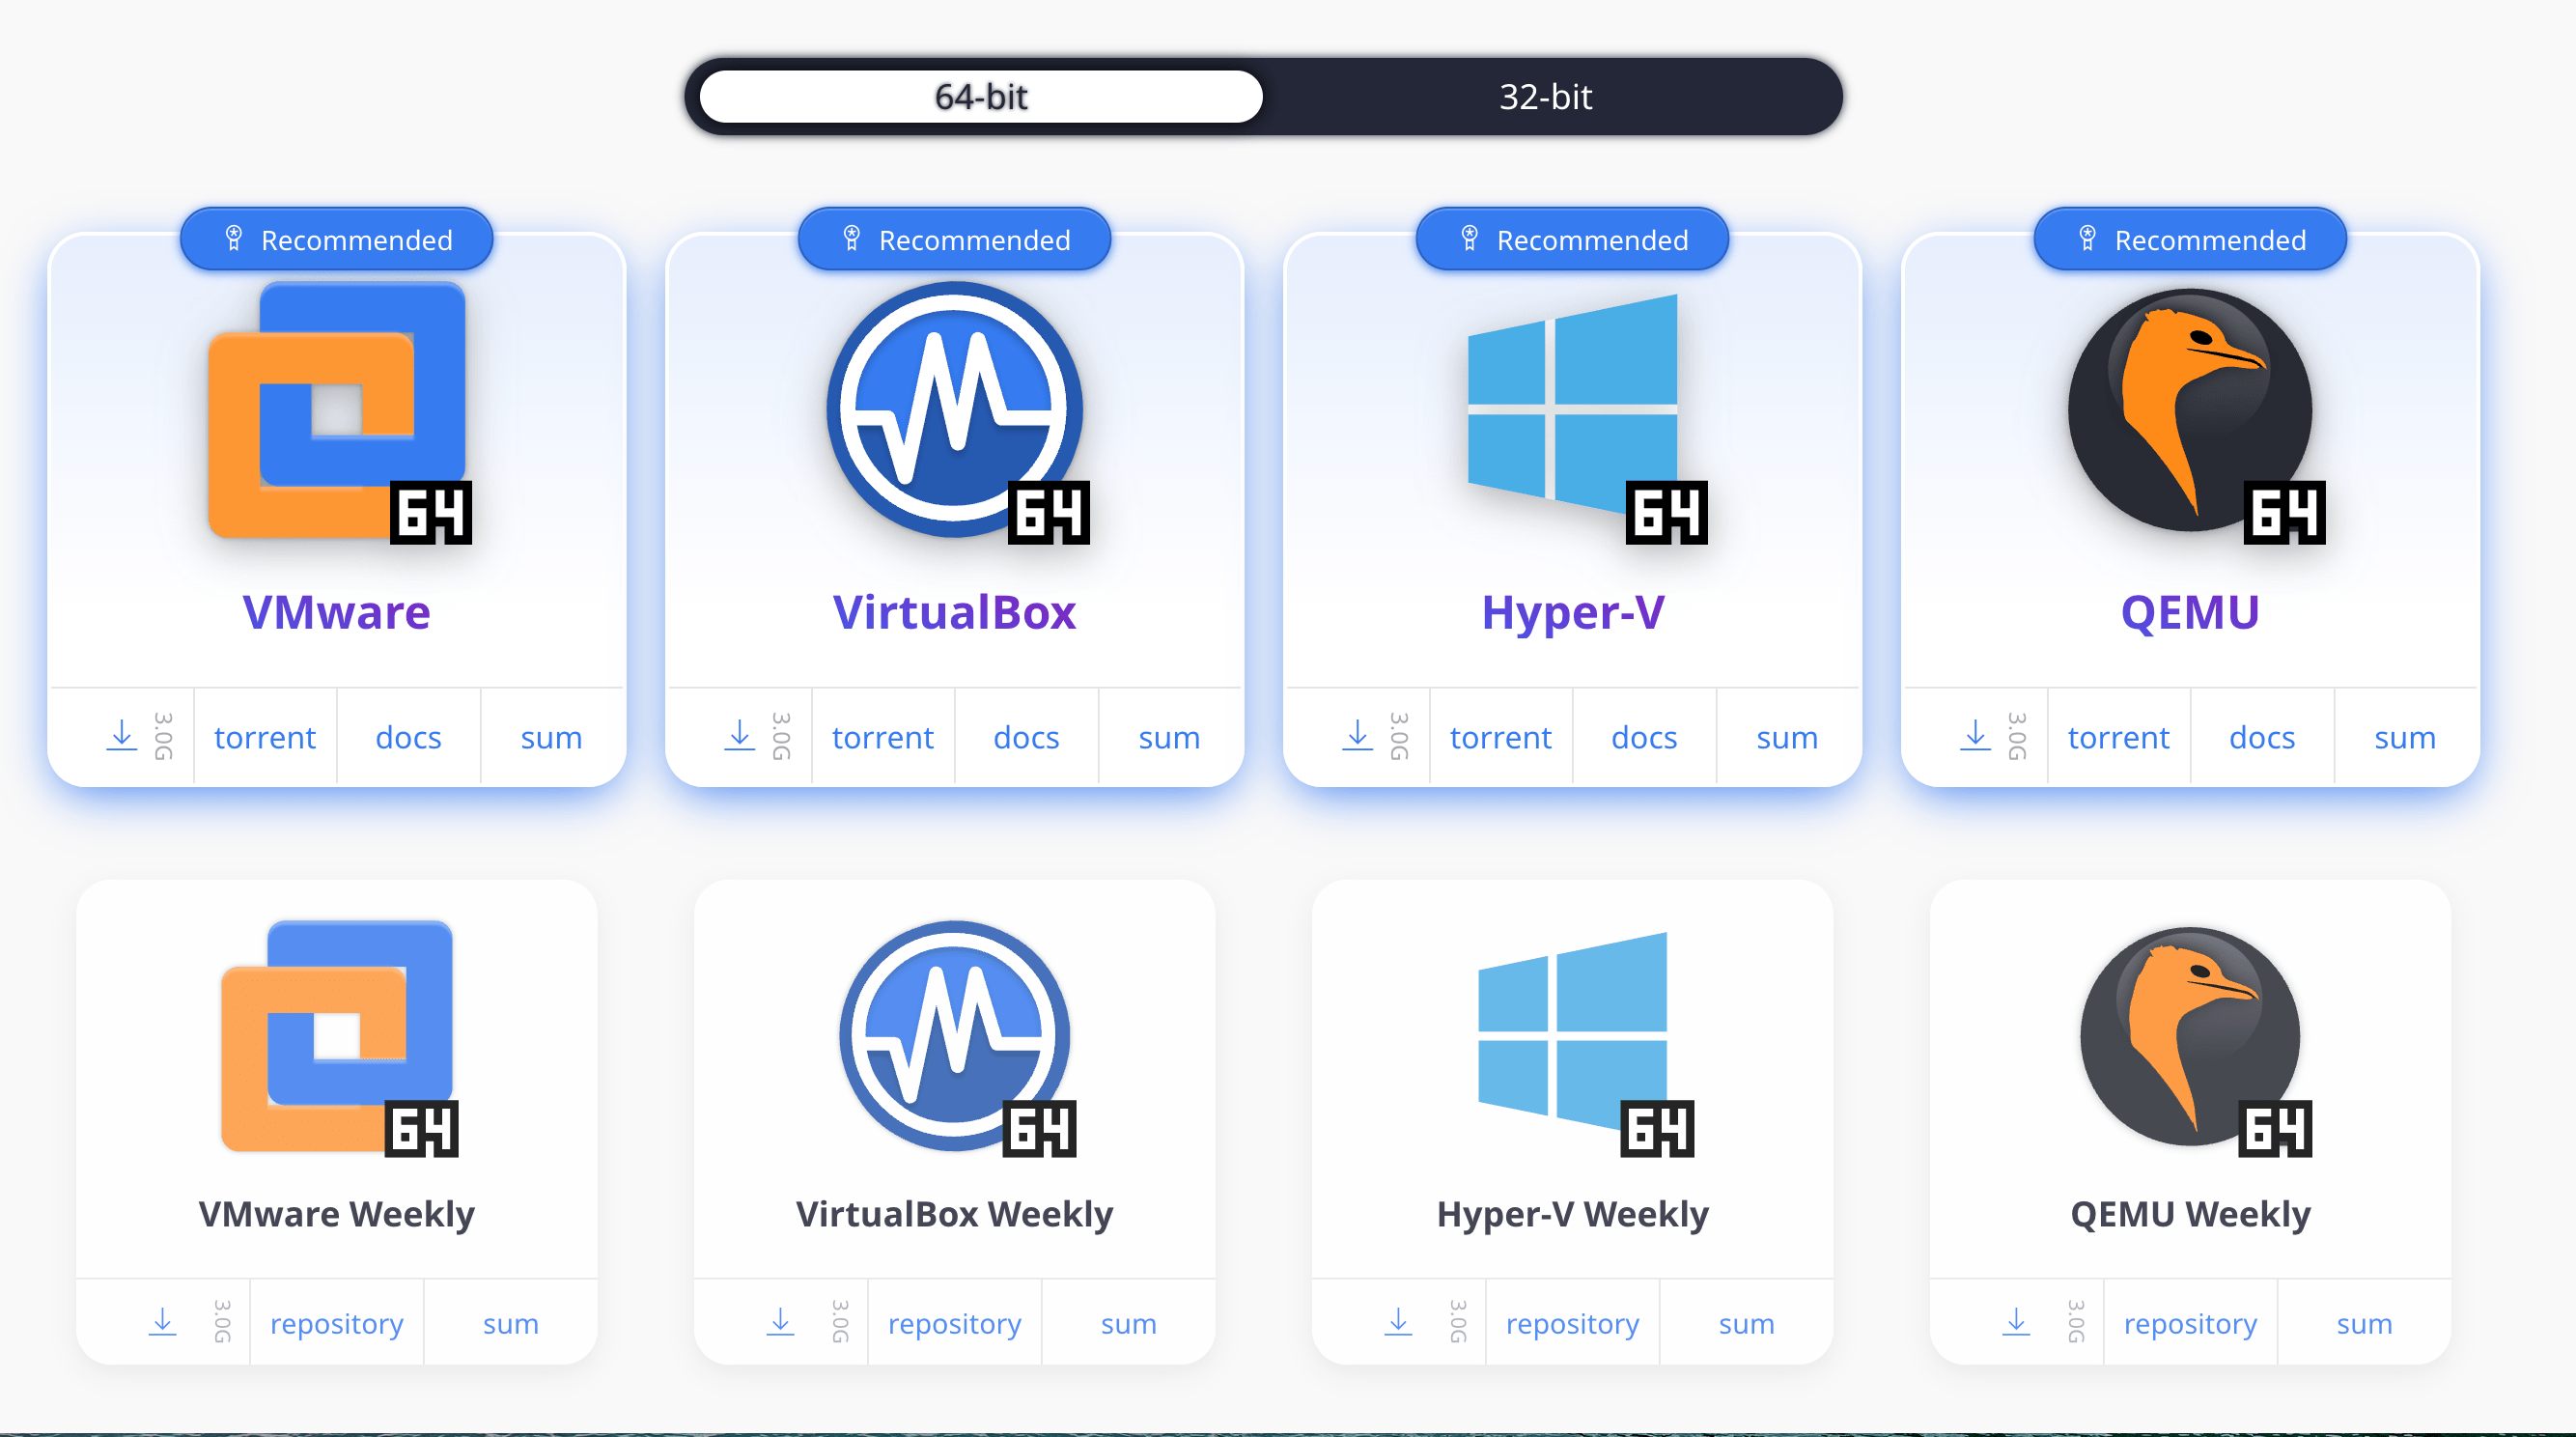
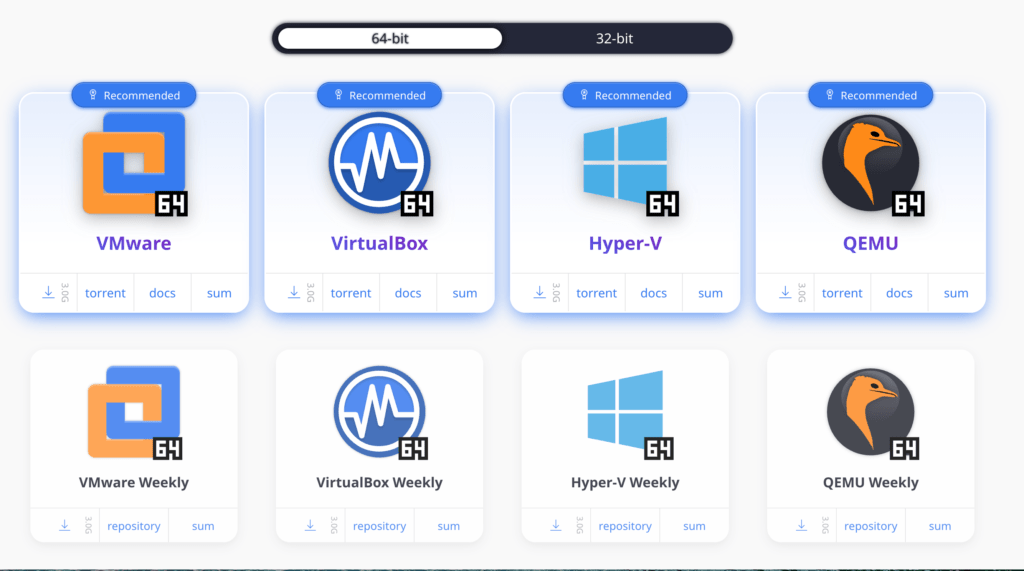
- Head to the official Kali Linux website and download the ISO file.
- Download Kali Linux Virtual Machines
Step 2: Set Up VirtualBox
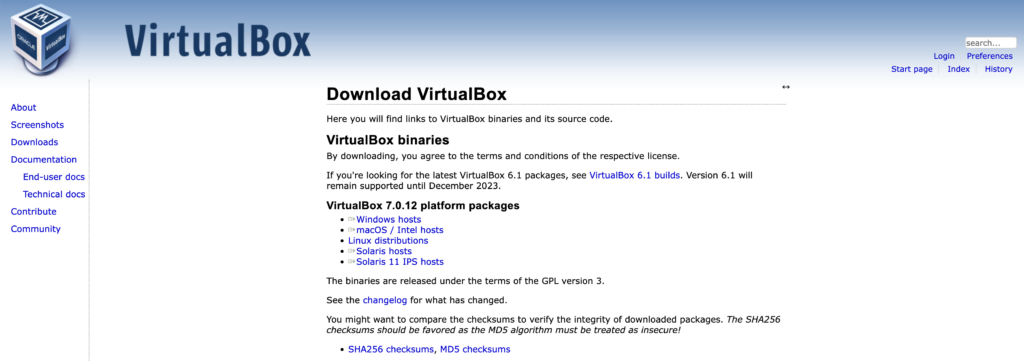
- If you don’t have VirtualBox, download and install it. It’s a free, user-friendly tool.
- Download Virtual Box
Step 3: Extract the downloaded Kali Linux folder
- Browse to the folder you just downloaded and extracted.

Step 4: Launch Virtual Box

Step 5: Add Kali Linux to VirtualBox
- Choose the VirtualBox Machine Definition file (it should start with ‘kali-linux’ and end with a .vbox extension).

Step 6: Start Kali Linux on VirtualBox
You’ll be shown settings for the virtual machine you’re about to add. Feel free to customize them if you wish, but going with the default settings is perfectly okay. The hard drives, referred to as VDI, virtually mount by allocating the storage space set.
Wait for some time for the system process the launch
In the ever-evolving world of cybersecurity, having an up-to-date system is crucial to ensure you’re equipped with the latest tools and security patches. In this guide, we’ll walk you through the step-by-step process of updating your Kali Linux system, keeping it razor-sharp and ready for any cybersecurity challenges that come your way.
Step 1: Open the Terminal
The journey begins with a simple keystroke. Open your terminal using Ctrl + Alt + T. This is your gateway to the powerful realm of commands that will refresh your Kali Linux setup.
Step 2: Update the Package Lists
Before diving into any updates, let’s make sure we have the latest information about available packages. Enter the following command:
sudo apt update
This command synchronizes your local package index with the latest information from the Kali Linux repositories.
Step 3: Upgrade Installed Packages
Now that we have the latest package information, let’s ensure all installed packages are up to date. Execute the following command:
sudo apt upgrade
This command will upgrade the installed packages to their latest versions. Review the list of changes before confirming the upgrade.
Step 4: Full Upgrade (if needed)
In some cases, a regular upgrade might not be sufficient, and a full upgrade of the distribution is required. If prompted or if you want to ensure a comprehensive upgrade, use the following command:
sudo apt full-upgrade
This command is especially relevant if you’re transitioning between major releases of Kali Linux.
Step 5: Clean Up
As you update and upgrade, your system accumulates unnecessary packages. Let’s clean up the clutter and free up some space:
sudo apt autoremove
This command removes packages that were installed automatically to satisfy dependencies for other packages that are no longer needed.
In a nutshell, pairing Kali Linux with VirtualBox isn’t just about setting up a secure space — it’s like having a supercharged toolkit for ethical hacking and cybersecurity exploration. You’re in control, ensuring your main system stays untouched while you delve into the exciting world of cybersecurity. So, go ahead, explore fearlessly, and let the learning adventure begin!